Assigning Hardware Controls in Mainstage
Assigning hardware controls in Mainstage opens up a huge amount of possibilities for ease of use, creative control, and sound design. Assign controls can change send volume, mutes, pans, activating effects, engaging the panic mode, and much more.
Here is how to map hardware controls:

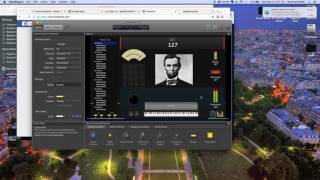
1) Go to the Layout button in the top left hand of Mainstage.
2) Choose a hardware controller from the Screen Control Panel in the bottom of the screen and drag it to a convenient place on the screen.

3) Highlight the hardware controller you selected and press command+L to instance Learn mode. Now move the hardware you want it to control on your Midi Instrument. This should map the selected hardware controller on the screen to the corresponding knob on your Midi Instrument. Hit command+L to exit Learn mode.

4) Now that you have a controller mapped, return to the layout screen. Clicking on the controller on the screen, the Screen Control Inspector should open in the bottom part of the screen. This is where you assign that controller to control certain parameters. In the Screen Control Inspector, click Unmapped and explore the different options available for you to control. Common uses for this are for controlling pan and volume. Other, more specific uses include going into the controls for the instrument itself and assigning something like Bass Boost to your controller.

This easy to use interface allows you to customize to a very specific degree the kind of control you have over your project. It is important to note that some controls are better for some tasks than others. For example, knobs/wheels are great for things that aren't just on/off. Volume, Pan, Send Volume are all great for knobs. Pad Samplers/One Shots are better for mutes, solos, panic, etc.

Thanks for reading, if you have any more questions on creating a truly customized and optimized Mainstage project, send us an email.